Sometimes, the simplest children’s craft can be the most fun to make. Easy crafts give children confidence and allow children to express their own sense of creativity. Rainbow Boxes can be crafted any time of year, and they make a great gift for kids to give to friends, relatives, scout leaders, teachers, or special neighbors. The supplies for the craft are minimal, and the cost for each is under one dollar, when purchasing the main supplies at a Dollar Tree or Dollar Store. Extra supplies for decoration can often be found around the house or purchased at a craft store.
Rainbow Boxes
Rainbow Boxes are meant to capture memories and special treasures. Once completed, Rainbow Boxes can store small trinkets, notes, jewelry, or photos. The size of the Rainbow Box craft can be doubled length wise for a larger box, and the depth of the box can be determined by the crafter. The boxes can be anywhere from an inch to several inches deep, depending on how many colored popsicle sticks are used to build the frame.
Supplies
Colored Popsicle Sticks (sold at craft stores in packs of about 100)
Elmers glue
Newspaper (for covering craft work area)
Decorations (stickers, scrapbook transfers, craft jewels)
Optional: Puzzle glue to make a shiny finish on lid and secure stickers
Basic Rainbow Box Directions
1. Cover craft work area with old newspaper
2. Place 2 craft sticks flat on table (about 4 inches apart) and put glue drops at both edges
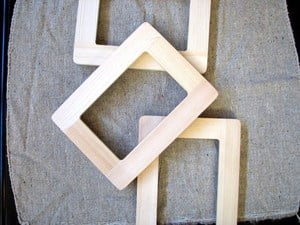
3. Place 2 more craft sticks on the glue dots in the opposite direction, forming a square shape
4. Once the bottom frame has set, place craft sticks lengthwise across the bottom of the frame until the entire bottom is covered
Note: Glue drops can be made for each craft stick or one long line of glue can be spread across the frame sticks to hold the bottom sticks
5. Alternately put glue drops on the ends of the 2 craft sticks on top of the frame base and place 2 new craft sticks in the opposite direction
6. Continue gluing sticks until desired height and depth have been reached
Note: the average Rainbow Box will need about 10-15 layers of craft sticks
7. Set bottom box aside to dry
The Rainbow Box Lid
8. Place 2 craft sticks flat on table, as in step #2, and place glue drops on ends
9. Spread glue across bottom layer sticks and glue craft sticks across the frame (close together)
10. Set aside to dry
When completed, the Rainbow Box lid should fit perfectly on top of the box. Decorations may be glued to the Rainbow Box lid once the glue has set (about 15-20 minutes). Stickers, scrapbook transfers, or small craft jewels can be glued to the top lid to add some decoration. Craft stores often sell themed scrapbook stickers and press ons that can be used for special occasion Rainbow Boxes.
For a shiny finish on the Rainbow Box lid, brush a light coat of puzzle glue across the top and let dry. The puzzle glue will secure any stickers or adornments with a light, shiny finish.


